
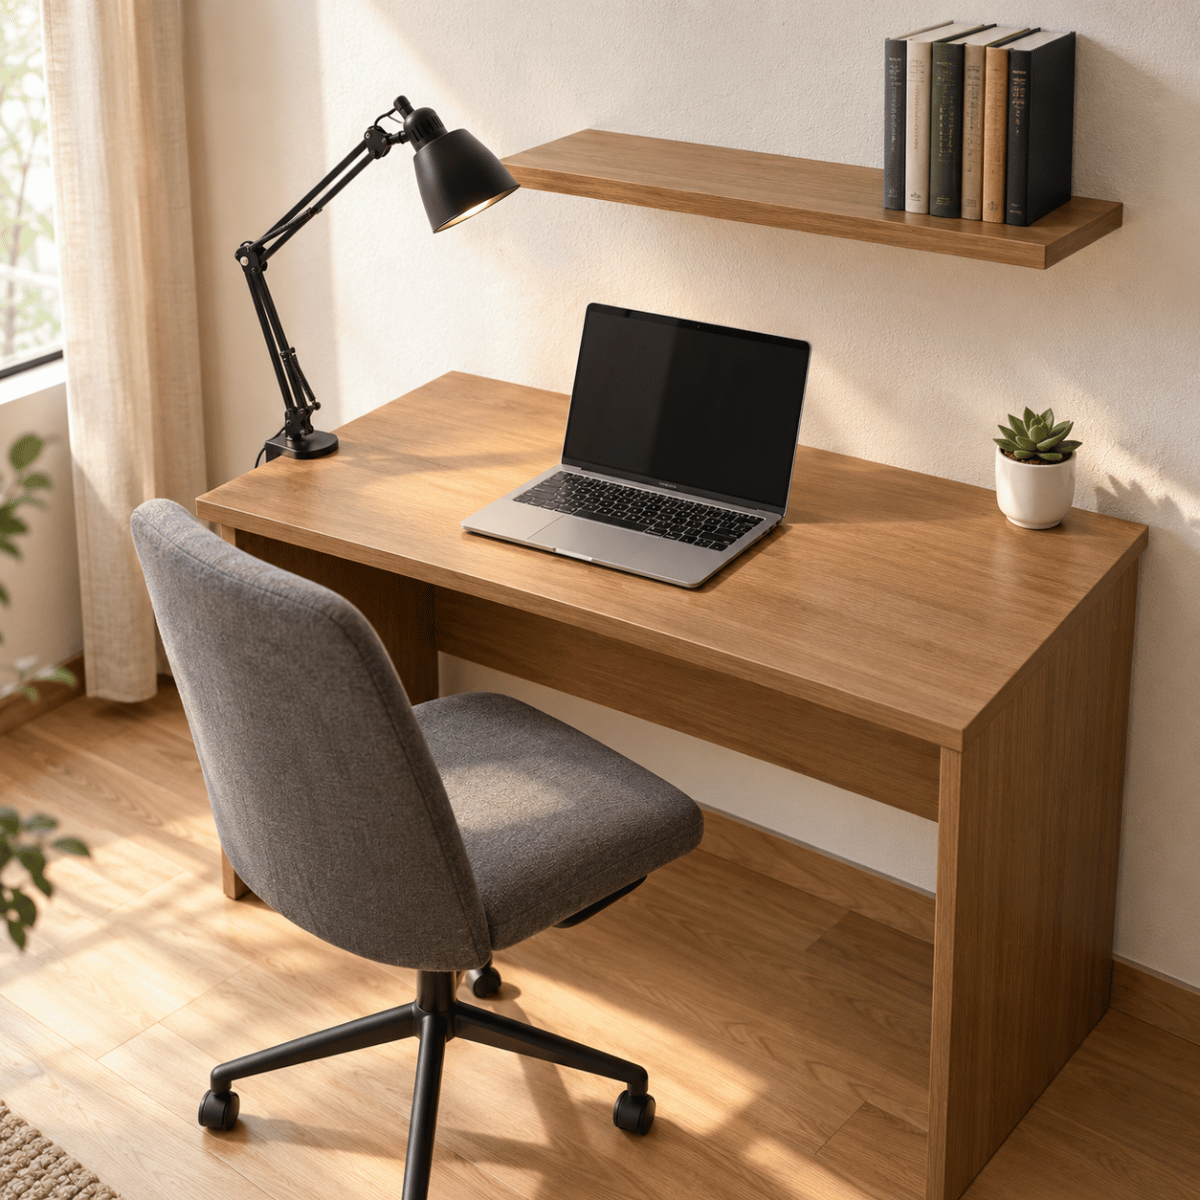

Most study tables in India get bought for how they look in the showroom and end up either cramping the user’s posture or not fitting the room once delivered. The two most common mistakes: buying a table that is too shallow (under 50 cm front-to-back, which pushes the monitor too close to your eyes) and placing it without accounting for chair pullout space (less than 90 cm behind the table, which means you cannot push the chair back without hitting the wall). This guide gives you the standard size ranges for every age group and use case, tells you exactly how much clearance you need around a study table, and shows you how to arrange and style one without sacrificing function.
Key takeaways
- The normal size of a study table for an adult is 120 cm wide x 60 cm deep x 75-76 cm tall – this is the ergonomic standard for Indian adults
- You need at least 90 cm of clear floor space behind the table for chair pullout – less than this and you will bang the chair into the wall every time you stand up
- For a child under 12, a table height of 55-65 cm is correct – a standard adult-height table causes the child’s shoulders to hunch within weeks
- The single biggest setup mistake is placing the monitor too close – keep 50-70 cm between your eyes and the screen
- The best light position for a study table is natural light to the left (for right-handed users) with a task lamp on the opposite side – this eliminates both glare and shadow on the work surface
What is the normal size of a study table in India?
Study table sizes in India vary by the user’s age and primary use – schoolwork, office work from home, or dual-screen professional setups. The table below gives the standard dimension ranges for each category, with the minimum and recommended measurements.
| User / Use Case | Width (cm) | Depth (cm) | Height (cm) | Notes |
|---|---|---|---|---|
| Child (6-10 years) | 60-90 | 45-55 | 52-60 | Height-adjustable tables are strongly recommended – children grow fast and a fixed table becomes the wrong height within a year |
| Teen (11-16 years) | 90-120 | 55-60 | 65-72 | 60 cm depth minimum to accommodate textbooks open beside a laptop; 65-70 cm height for most teens |
| Adult – general | 120-150 | 60-75 | 75-76 | 75-76 cm is the Indian ergonomic standard for seated desk work; 120 cm width is the practical minimum for a laptop + notebook |
| Adult – dual monitor / professional | 150-180 | 70-80 | 75-76 | 150 cm minimum width for two monitors side by side; 75 cm depth to keep screens at the correct 50-70 cm eye distance |
| L-shaped desk | 120-150 on each arm | 55-65 per arm | 75-76 | The return arm (shorter side) works best for a second monitor or printer; main arm for primary work |
| Compact / small room | 80-100 | 45-55 | 75-76 | Below 80 cm width you lose the ability to use a mouse beside a laptop – consider a wall-mounted fold-down desk instead |
One measurement that most buyers ignore: the knee clearance under the table. The usable height under the table surface (from floor to the underside of the table) should be at least 65 cm so you can sit comfortably with your legs under the desk without your knees pressing against the frame. If the table has a drawer that hangs below the surface, subtract the drawer depth from the usable clearance before buying.
How much clearance does a study table need?
The table’s own footprint is only half the space calculation. You also need clearance for the chair, for walking past, and for comfortable movement. Most buyers forget this and end up with a table that technically fits the room but is impossible to use comfortably.
| Clearance type | Minimum | Comfortable | Why it matters |
|---|---|---|---|
| Behind the chair (chair pullout) | 90 cm | 110-120 cm | Less than 90 cm and you have to angle the chair sideways every time you stand up; in rooms with a wardrobe or wall behind the desk, measure this first |
| Side aisle (walkway beside the desk) | 75 cm | 90 cm | Minimum for one person to pass; 90 cm if two people share the space or if you need to reach something behind the desk frequently |
| Knee clearance (under the surface) | 65 cm | 70 cm | Height from floor to underside of table or lowest drawer; less than 65 cm causes the user to sit with legs splayed or pushed to one side |
| Monitor distance (eyes to screen) | 50 cm | 60-70 cm | Closer than 50 cm causes eye strain; further than 80 cm causes squinting; table depth determines this – a 60 cm deep table puts the monitor at roughly 55-65 cm once it is pushed against the wall |
How to measure before buying: stand in the room where the table will go and tape out the table’s footprint on the floor. Then sit in your existing chair and push it back to where you would naturally sit. Measure from the back of the tape outline to the chair. If it is less than 90 cm, you need a smaller table or a different wall.
Which study table size works for a small Indian bedroom?
In a 10×10 ft or 10×12 ft bedroom – the standard small bedroom in Indian apartments – you typically have one wall that can take a desk without blocking the wardrobe or door swing. The practical maximum is an 80-100 cm wide desk with a 45-50 cm depth. At this size you can fit a laptop with a small external monitor or just a laptop with books.
Three options that work specifically for small Indian rooms:
- Wall-mounted fold-down desk: folds flat against the wall when not in use – takes zero floor space when folded. Width up to 90 cm. Best for rooms where the desk is used occasionally, not for hours daily.
- Compact corner desk: places the desk in a corner and uses the corner depth for monitor placement – the monitor goes into the corner and the side surfaces become the actual work area. Effectively uses dead corner space.
- Narrow-depth desk (45 cm): a standard desk with a reduced depth – enough for a laptop and notebooks, not for a desktop setup. Saves 15-20 cm of floor space compared to a standard 60 cm desk.
How do you arrange a study table for comfort?
The arrangement of items on and around the table affects posture, eye strain, and how long you can work without fatigue. Here is the correct sequence for setting up a study table from scratch.
- Position the table first: place the table so the dominant light source (window) is to your left if you are right-handed, or to your right if you are left-handed. This keeps the light from casting a shadow of your hand across your work and prevents glare directly into your eyes.
- Set chair height before anything else: sit in the chair and adjust it so your feet are flat on the floor and your forearms are parallel to the table surface when your hands rest on the desk. The table height is fixed – the chair must adapt to it. If the table is too high and the chair cannot go higher, use a footrest rather than raising the chair and dangling your feet.
- Place the monitor at arm’s length: extend your arm – your fingertips should just touch the screen. The top of the screen should be at or slightly below eye level so your gaze drops slightly downward, which is the natural relaxed position for the eyes.
- Keep frequently used items within elbow reach: anything you reach for more than twice an hour (phone, notebook, pen, water bottle) should sit within a 45 cm arc of your primary working hand. Items used less often go further away.
- Route cables down and under: loose cables across the desk surface create visual clutter that increases cognitive load. A cable clip on the back edge of the desk and a small tray or hook underneath keeps all cables off the surface.
How do you make a study table look good?
A study table that looks good is one where every visible object has a reason to be there and is placed deliberately. The most common mistake is adding decorative items that add visual noise without adding function – a ceramic figurine, a small succulent collection, three different pen holders. Each of these takes up desk real estate and increases the visual load on the space.
- One plant, placed at the far corner: a single small plant (pothos, snake plant, or a succulent) at the far corner of the desk adds life without taking functional workspace. Keep it to one – more than one reads as a garden, not a workspace.
- Hide all cables: cables are the single biggest aesthetic problem on any desk. A cable management box under the desk for the power strip, cable clips on the back edge, and a grommet through the desk surface (if possible) make the setup look intentional rather than improvised.
- One storage solution, not several: a single desk organiser or a single small shelf above the desk looks cleaner than multiple pen cups, paper trays, and sticky-note holders scattered across the surface. Consolidate into one container.
- Match finish to the room: a white laminate desk looks awkward next to dark wood furniture. The desk does not need to match exactly but should be in the same material family – wood finishes with wood finishes, white/grey with other light tones.
- Desk lamp that complements the setup: a task lamp with an articulated arm takes less visual space than a standing lamp and puts the light exactly where you need it. Matte black or brushed nickel finishes read as deliberate design choices; generic white plastic reads as an afterthought.
Browse the Wakefit study table range for compact and standard-size options in engineered wood with cable management built into the design. If you are also setting up the chair, a height-adjustable chair paired with a fixed-height table gives you the flexibility to get the ergonomics right without buying a height-adjustable table, which costs significantly more. See also how to position your study lamp for the right lighting setup.
Frequently Asked Questions
1. What is the normal size of a study table?
The normal size of a study table for an adult in India is 120 cm wide x 60 cm deep x 75-76 cm tall. For children aged 6-10, the correct height is 52-60 cm. For teens aged 11-16, the correct height is 65-72 cm. A 60 cm table depth is the practical minimum for placing a laptop with a monitor or with open books beside it – anything shallower pushes the screen too close to the user’s eyes.
2. How do I arrange my study table?
Place the table so natural light comes from the left (for right-handed users). Set your chair height so your forearms are parallel to the desk surface and your feet are flat on the floor. Position the monitor at arm’s length with the top of the screen at or slightly below eye level. Keep frequently used items within a 45 cm arc of your dominant hand. Route all cables down the back edge and under the desk to keep the surface clear.
3. How to make a beautiful study table?
Keep only what you use on the desk surface. Hide all cables with clips and an under-desk tray. Add one plant at the far corner – not several. Use a single desk organiser instead of multiple pen cups and trays. Match the desk’s material finish to the other furniture in the room. Choose a task lamp with a deliberate design (matte black or brushed metal) rather than a generic white plastic one. Visual simplicity reads as intentional design.
4. What is the standard height of a study table for a child?
For children aged 6-10, the correct study table height is 52-60 cm. For teens aged 11-16, it is 65-72 cm. A standard adult desk at 75-76 cm is too high for children under 12 – it causes the child’s shoulders to raise and hunch, which leads to neck and shoulder pain over time. Height-adjustable study tables are the best long-term investment for children because the table grows with the child.
5. How much space do you need behind a study table for the chair?
You need a minimum of 90 cm of clear floor space between the back of the table and the nearest wall or furniture behind it. This is the chair pullout clearance – it allows you to push the chair back far enough to stand up without angling or lifting it. For comfortable movement, 110-120 cm is better. Before buying a study table, measure from the intended table position to the wall behind it and confirm you have at least 90 cm.
6. What is the correct monitor distance for a study table?
The monitor should be 50-70 cm from your eyes – approximately arm’s length. The top of the screen should be at or slightly below eye level. On a 60 cm deep desk pushed against the wall, a monitor placed at the back edge sits approximately 55-65 cm from the user, which is within the correct range. On a 45 cm deep desk, the monitor is too close – you would need to raise it on a stand and tilt it back, or accept eye strain.
7. Which direction should a study table face?
The table should face so that natural light enters from the side – to the left for right-handed users, to the right for left-handed users. This prevents your hand from casting a shadow on the work and prevents direct glare into your eyes. Avoid placing the table facing a window directly (screen glare) or with a window directly behind you (reflection glare on the screen). If the room layout forces one of these positions, use a blackout blind or sheer curtain to diffuse the light.
8. Is a 3-foot study table enough for an adult?
A 3-foot (90 cm) wide study table is the minimum workable width for an adult with a laptop – you can fit the laptop and a notebook side by side. It is not enough for a laptop plus an external monitor, a dual-monitor setup, or regular paperwork alongside a laptop. For those use cases, 120 cm (4 ft) is the practical minimum. A 3-foot table works well in a small room where space is the primary constraint and the workload is light.